 TrainNotes
Record your first workout
This walkthrough takes you from an empty session to a saved workout. You can use the same actions for an unplanned gym visit without creating a template first.
Set up your first launch
- Choose your preferred weight, distance and body-measurement units, then tap Continue.
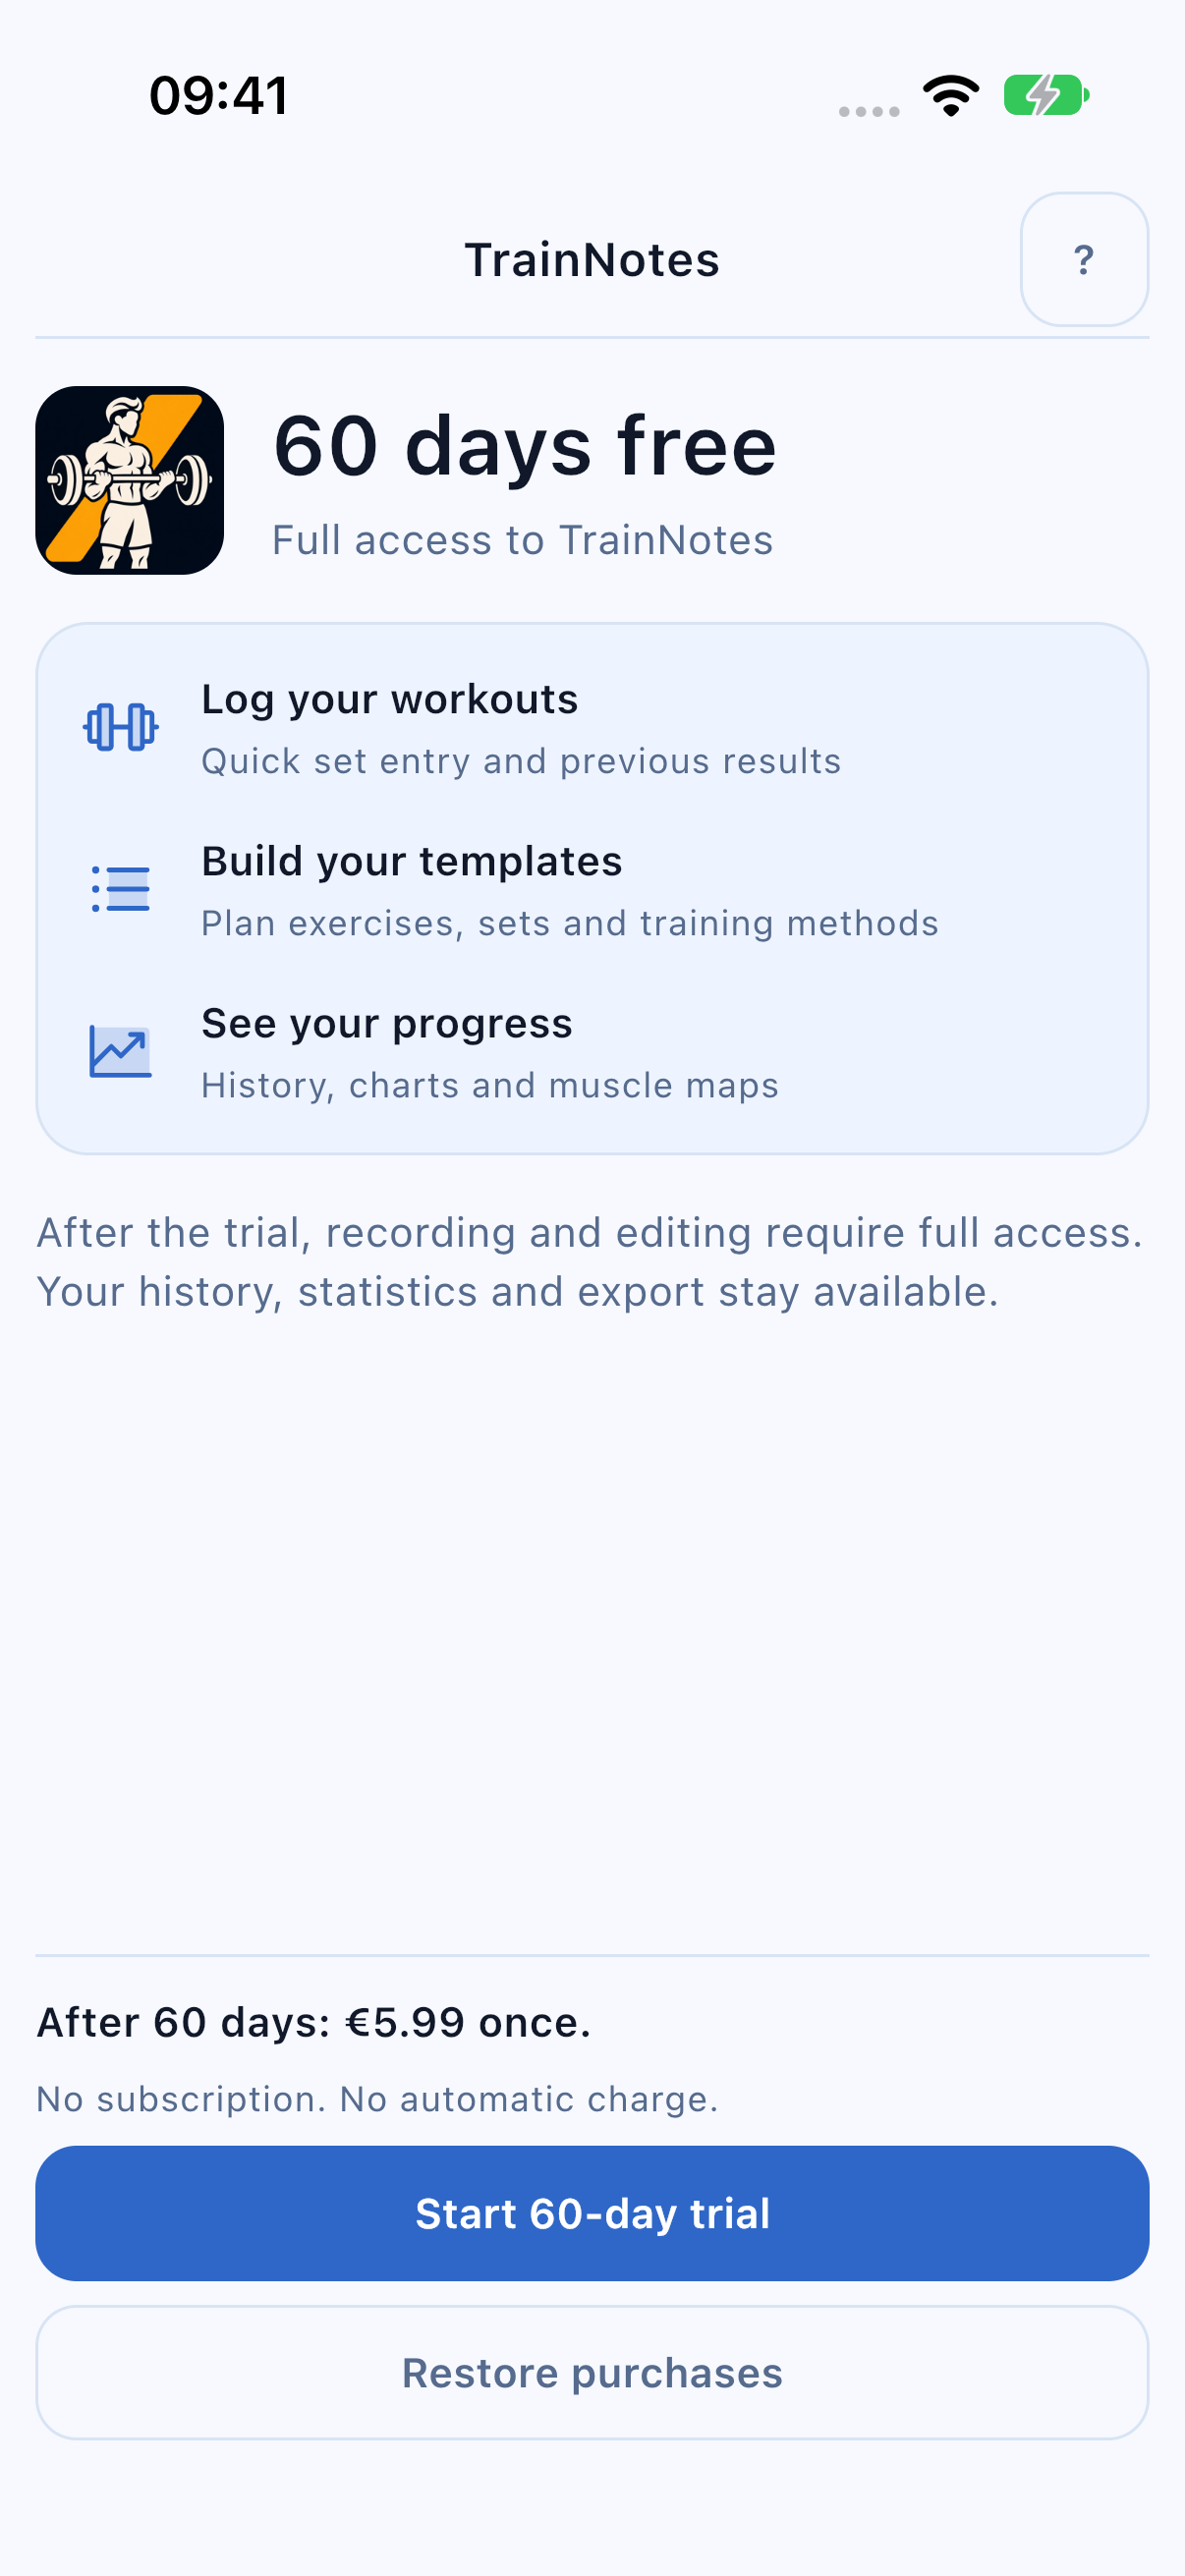
- Read 60 days free: all features are included, followed by an optional one-time purchase to keep recording and editing. There is no subscription or automatic charge.
- Tap Start 60-day trial to activate access through Apple. If you already activated the trial or bought full access, use Restore purchases when needed.
- After activation, Train opens. The welcome does not return on ordinary launches. Your selected units remain saved.
An existing verified purchase or trial skips the welcome. An expired previous trial opens the ordinary read-only app rather than asking you to activate again. See access status and retained features for the full details.
Start the session
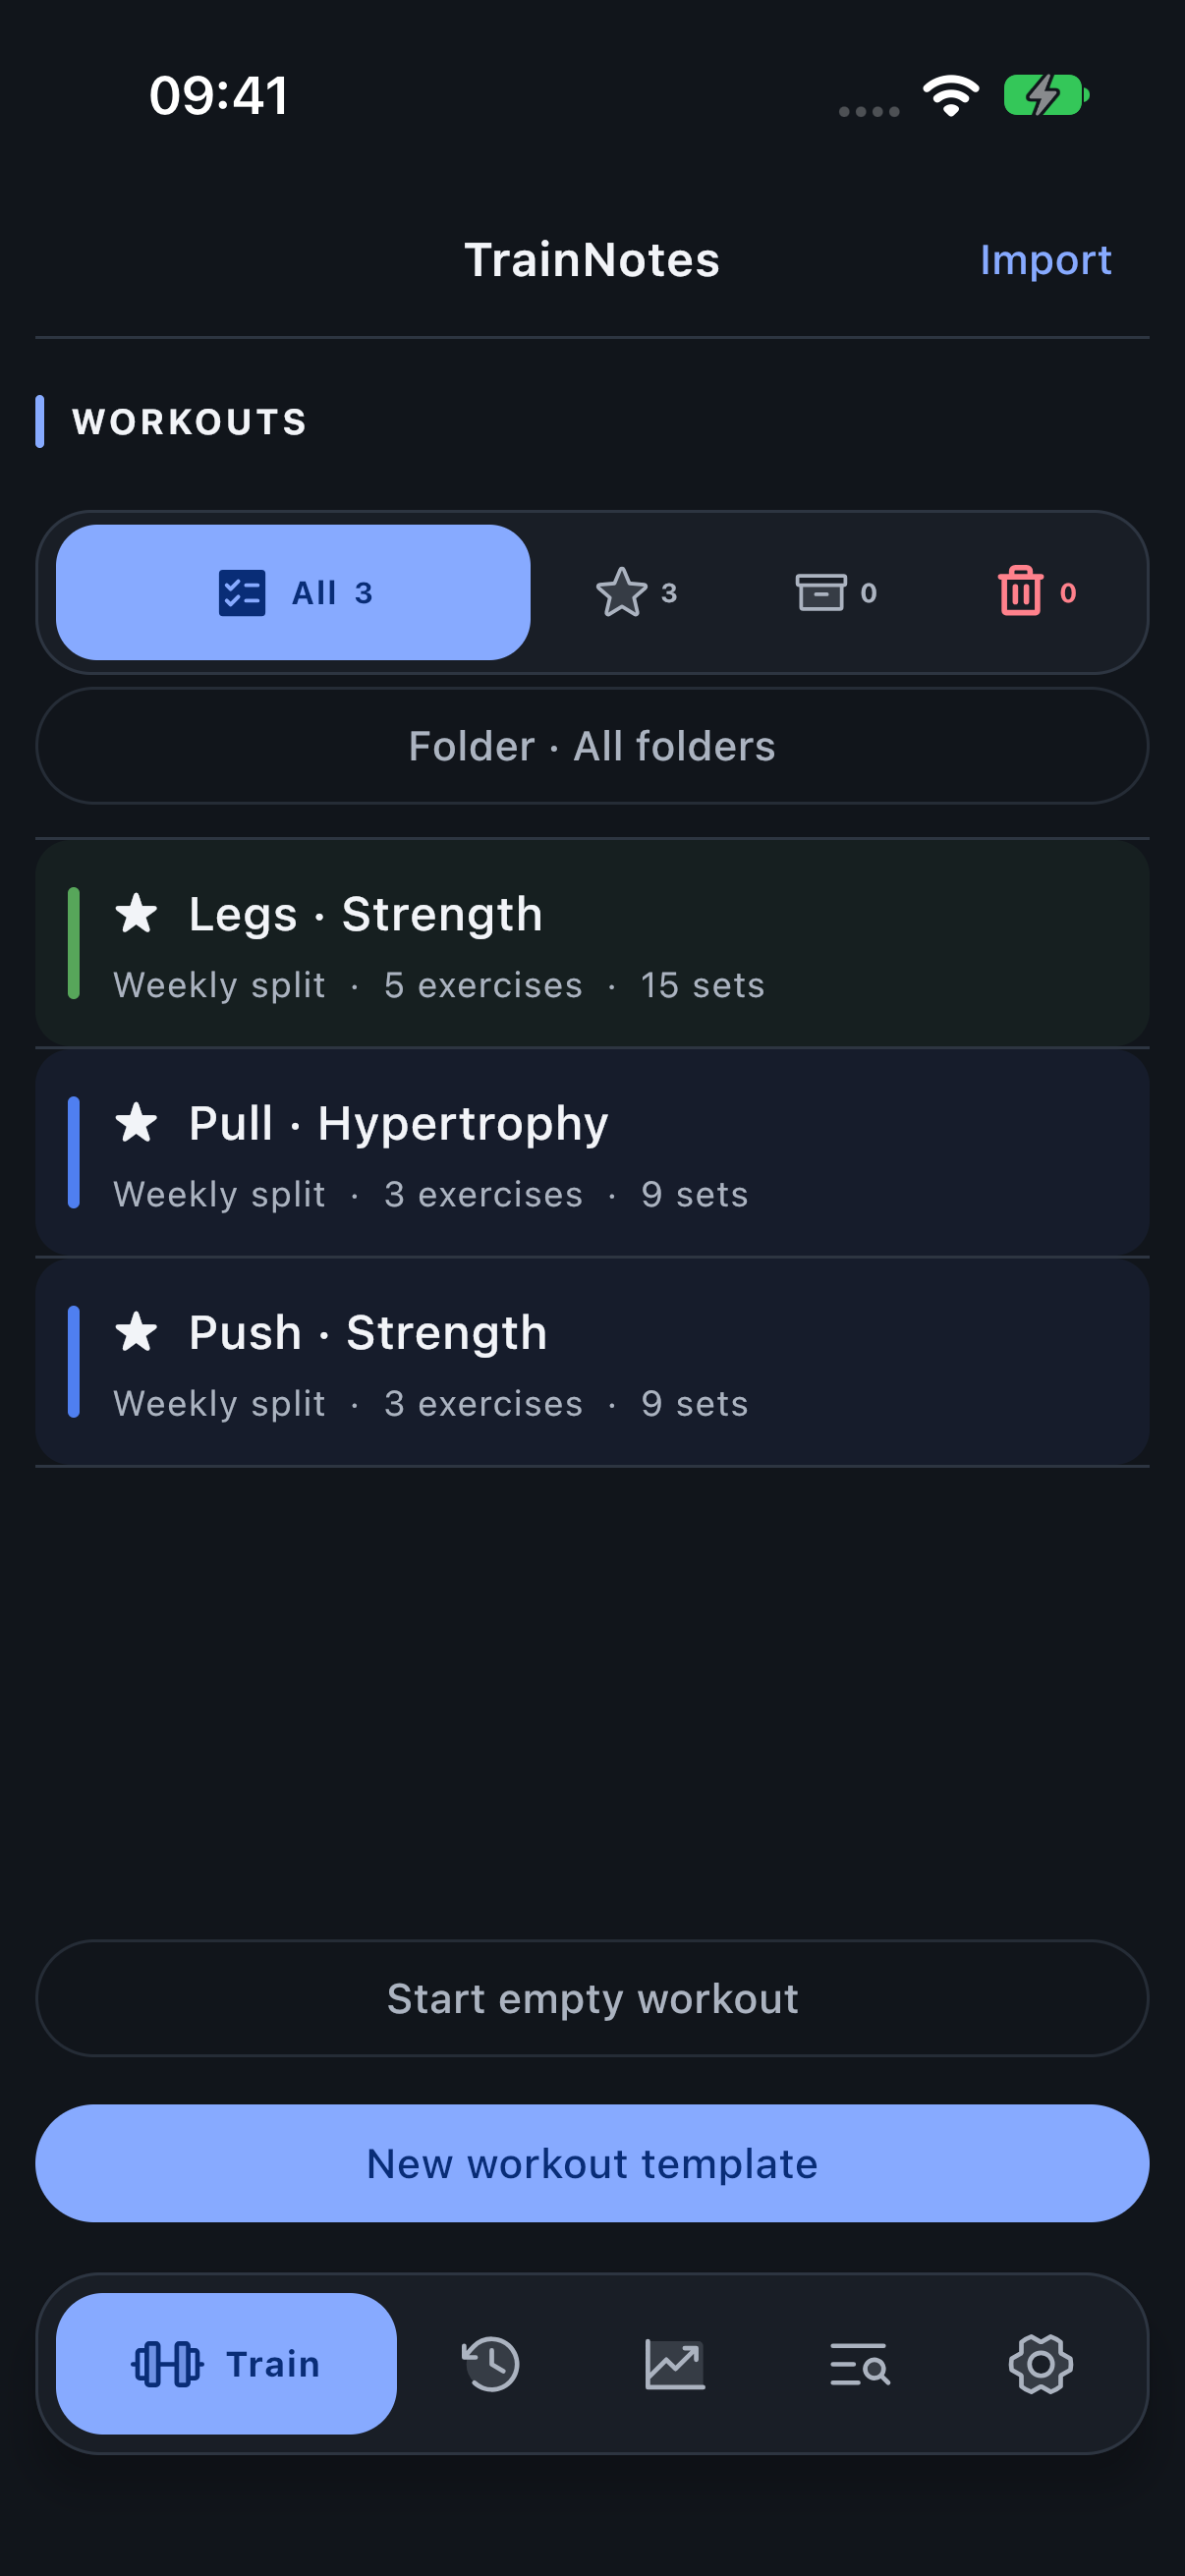
- Open Train.
- Tap Start empty workout.
- Tap + Add exercise.
- Search for the movement you intend to perform. Use Equipment or Muscles if several names are similar.
- Select the Exercise. If it has several Variants, select the implementation you are using.
Enter one set
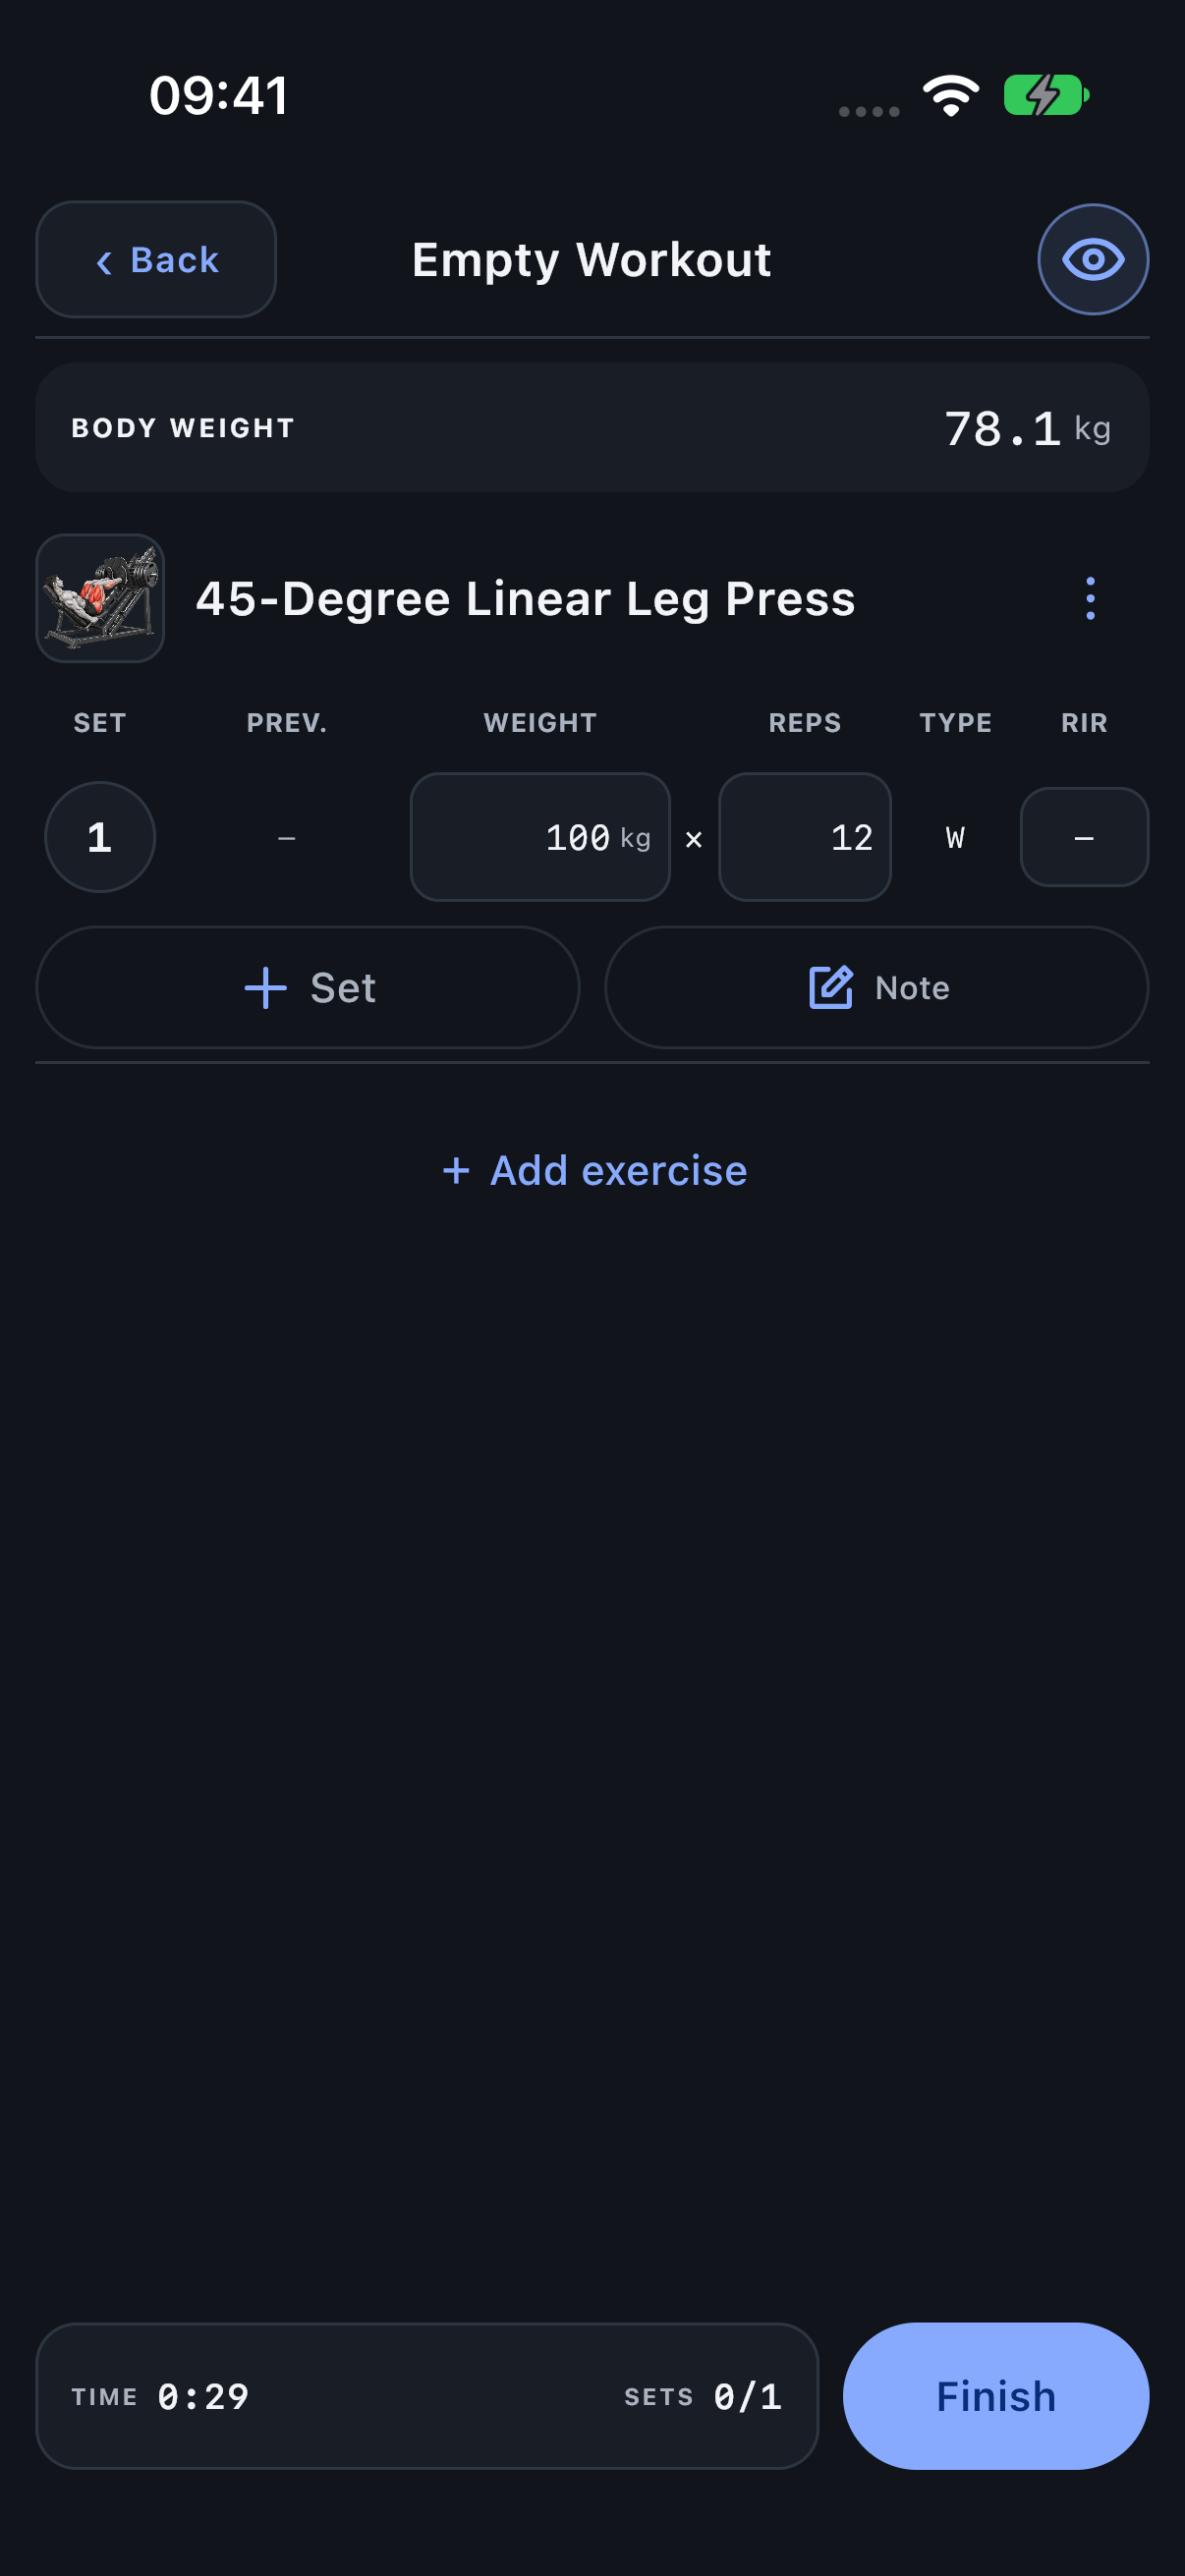
In this example, the first Exercise is a leg press with Weight + Reps tracking. Enter the machine load in Weight and successful repetitions in Reps. Use the convention that is appropriate for that machine consistently across visits.
- Tap the Weight field. Typing replaces the previous value.
- Enter the load, then enter the reps.
- Tap Done above the numeric keyboard.
- Tap the numbered badge at the left of the row to mark the set complete.
If you perform 100 kg × 12, record 100 and 12. If the plan said 15 but you completed 12, enter 12. The log records the result you achieved.
Add the rest of your training
Use + Set for another set to the same Exercise. Use + Add exercise for another movement. The rest timer appears after a completed ordinary set when it is enabled. Adjust actual values before completing each new row; the filled value is a starting point, not proof that you performed it.
Save the finished workout
- Tap Finish at the bottom right.
- If some rows remain incomplete, choose Finish completed sets to keep only performed work, or return to the workout to continue logging. Use Complete all and finish only when all those filled results really happened.
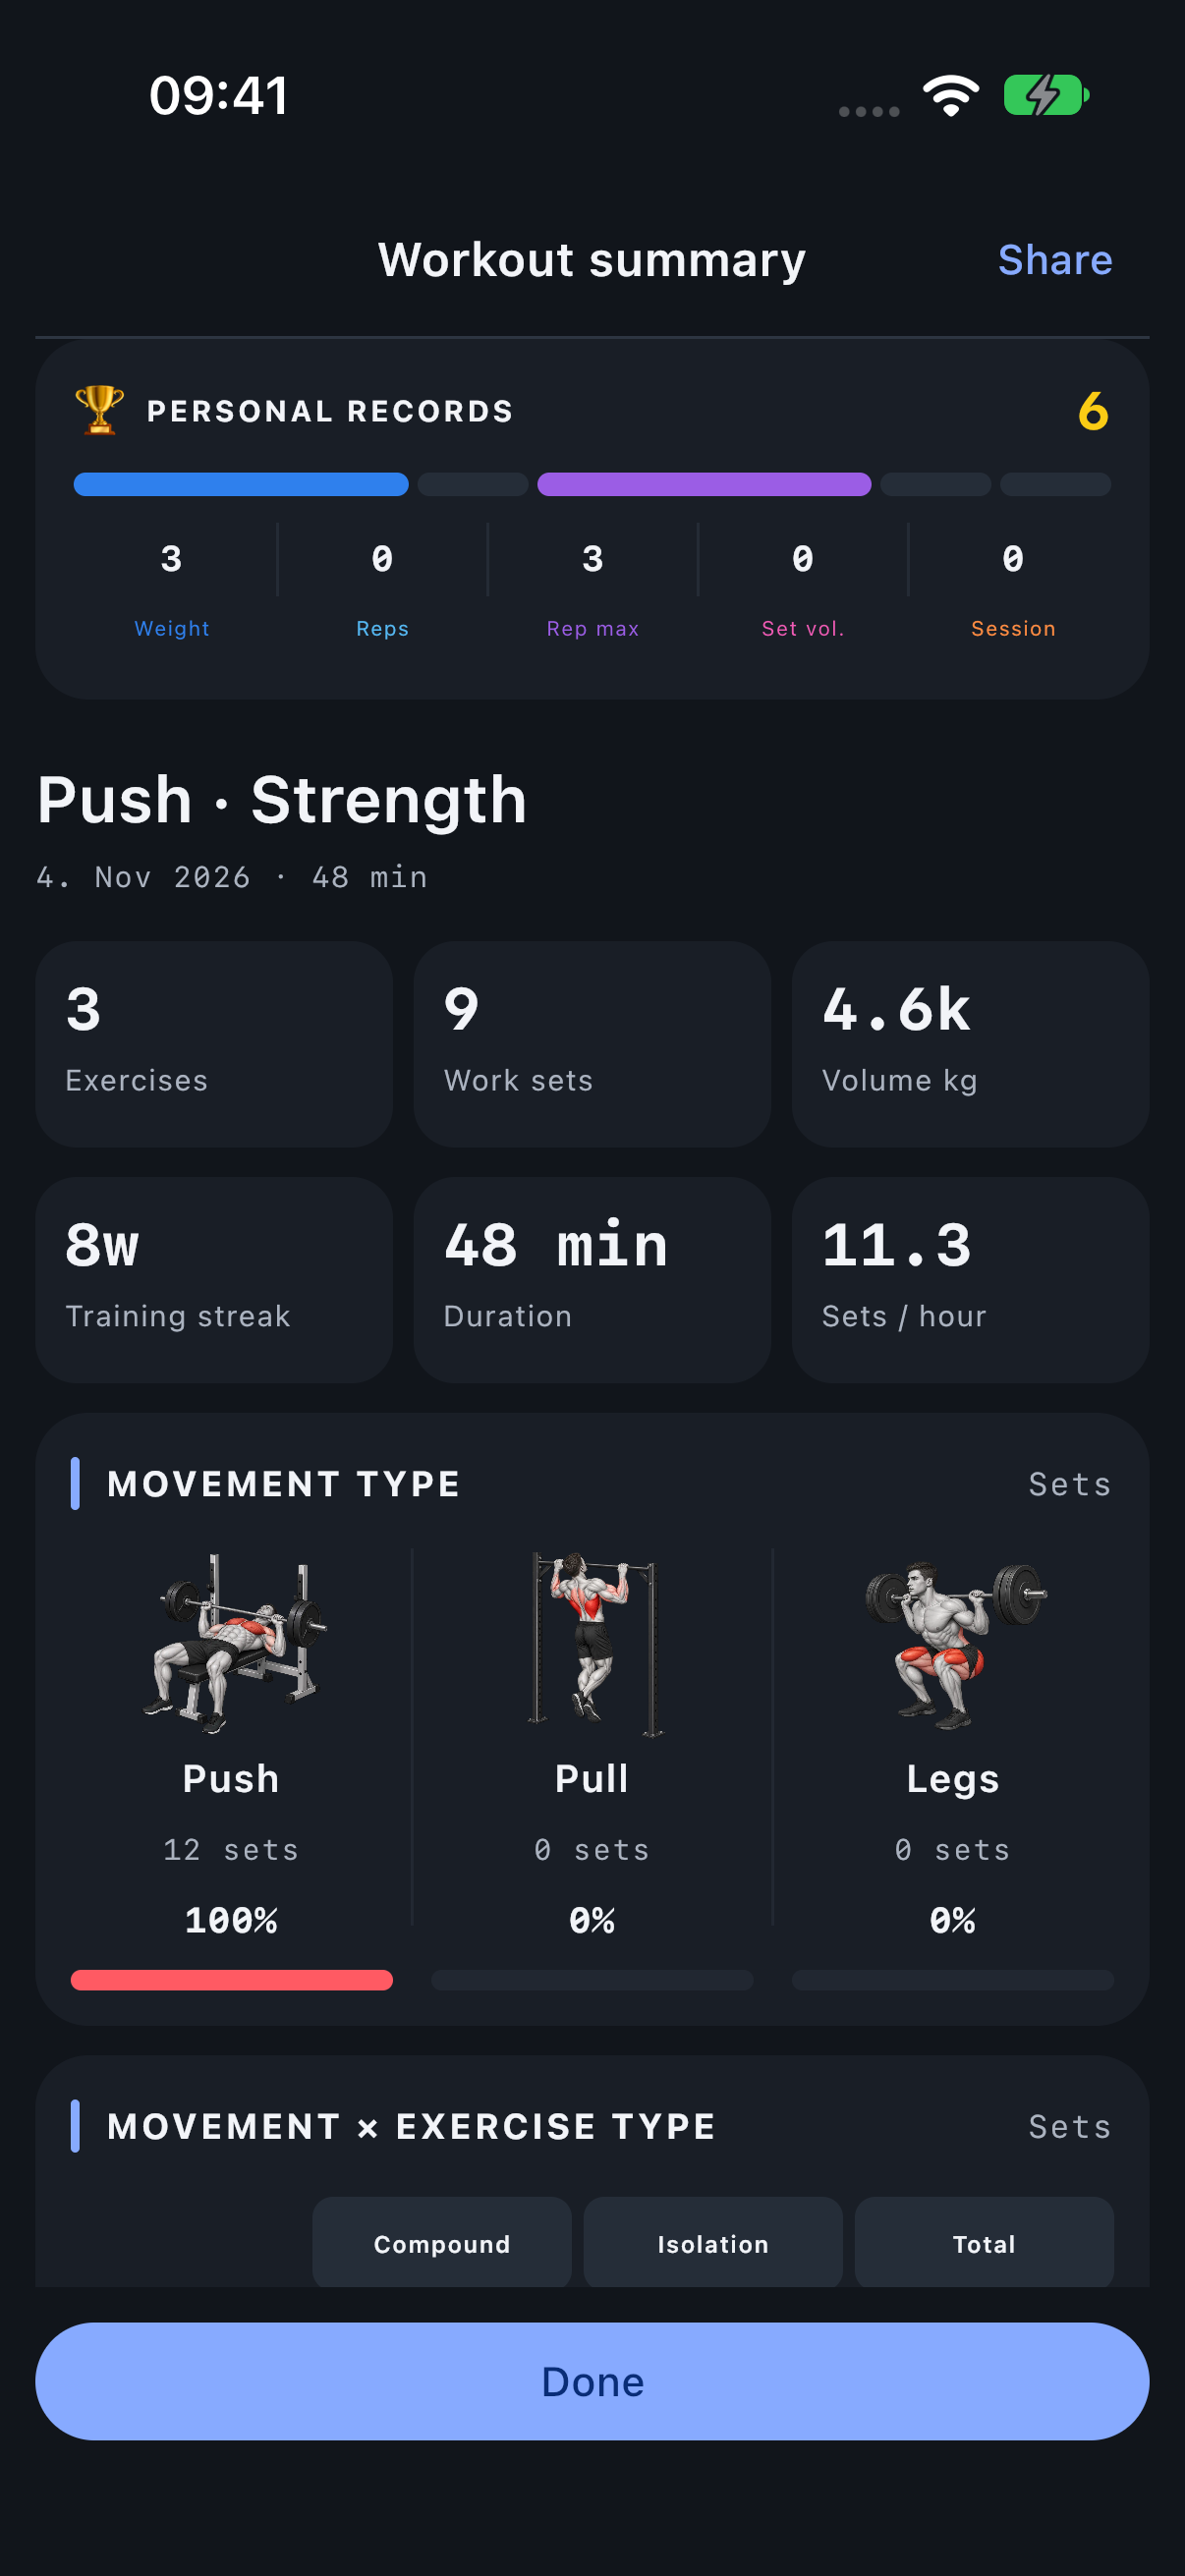
- Read the Workout summary, then tap Done.
- Open History to find the saved session on its original date.
Prepare a repeatable visit
If you repeat a workout regularly, create a template with your intended sets. The next visit can start with those values filled. For ordinary logging, you can stay with W sets and add advanced methods only when your training calls for them.